The Classic Atomizer Tank - Aspire Nautilus Mini BVC Review
Introducing the Aspire Nautilus Mini
The Aspire Nautilus Mini is
an exciting new clearomiser from Aspire featuring their fantastic
vertical bottom coil wicking technology (see below for an explanation).
Coming with a 2ml e-liquid capacity, one of the most exciting features
is an adjustable airflow for consistent wicking for whatever PG/VG
eliquid ratio you are using.
The Nautilus Mini is the next logical
step for vapers who’ve either other Aspire’s such as their Bottom Dual
Clearomiser, or are ready for an upgrade from their standard
clearomiser.
In contrast to older clearomisers, the Nautilus Mini’s
adjustable airflow allows you to both control vapour draw and regulate
the quantity of e-liquid flowing onto the coil to give you the ultimate
control over your vape.
The Mini Nautilus is a great mid way point
between standard clearomisers and rebuildable atomisers, offering a lot
of the benefits of rebuildables, with the convenience of replaceable
atomiser clearomisers.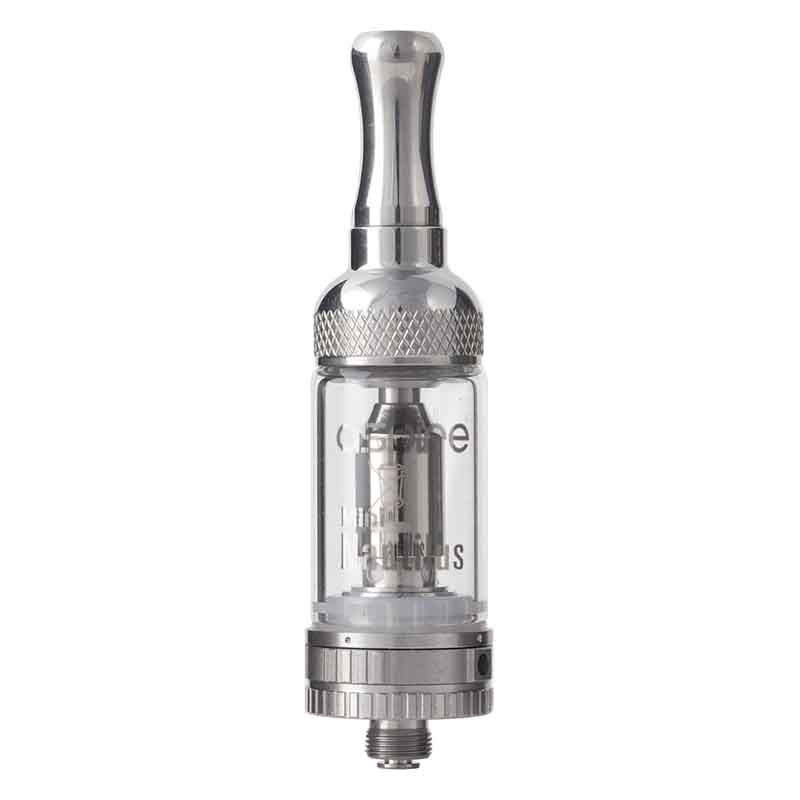
Advantages of the Aspire Nautilus Mini
• Sturdy steel construction
• Enhanced flavour
• Increased vapour
• Changeable drip tip,
• And all the advantages of the original Nautilus in a compact size 2ml capacity.
Construction of the Aspire Nautilus Mini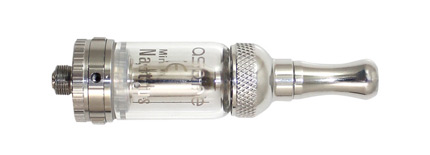
The
Aspire Nautilus Mini features sturdy construction, with high quality
materials and a pyrex tank. It has a really high quality feel in hand –
and looks the part too. The complete package includes:
• Steel base and top body
• 2ml pyrex e-liquid tank
• Locking adjustable airflow
Vertical coil technology
One
of the standout features of the Nautilus Mini is its bottom vertical
coil atomiser technology. The coil sits vertically over the airflow,
reducing resistance and giving a more direct to mouth vaping experience.
In
other clearomiser designs, the coil sits across the airflow, a design
which can cause air resistance and uneven heating of the coil. The BVC
is a simple and very effective solution for this problem.
There are 4 main parts that make up the coil:
• Stainless steel top screen – sits on top of the wick and coil assembly keeping it pressed down
• Heating coil – made from USA sourced Kanthal wire
• E-Liquid wicking screen – this makes contact with the coil and ensures even wicking even at a higher temperatures
• Organic cotton – wicking material (there are 2 layers of this each side of the e-liquid screen)
Airflow control
The
Nautilus Mini features air flow adjustment with four different hole
sizes available. This is great when you’re changing between thin and
thick eliquid, or for fine tuning airflow for different flavours.
Nautilus
Mini’s locking airflow is located below the glass body of the
clearomiser. The rotating metal sleeve rotates easily and clicks into
place on each air hole size.
Choosing the correct air hole:
Not
getting any or much vapour? I’ve found that it is quite easy to block
the airways with your finger or thumb. If this happens to you, simply
hold the device a littler lower down. If that doesn’t work, ensure you
have selected an airflow hole that is large enough to produce a
satisfactory amount of vaper.
Strip Down & Servicing
The
Aspire Nautilus Mini can be stripped down to individual parts for deep
cleaning and coil replacement. Please read on for full instructions on
how to:
• Remove the base
• Fitting a new coil
• How to fill the Nautilus Mini
• How to remove the pyrex tank
• Attaching the clearomiser to the battery
Removing base to fill eliquid
Start
by inverting the clearomiser. We recommend you remove the 510 drip tip
improve stability if placing on a surface. Grip the bottom of the body
below the airflow adjustment ring and turn anti clockwise to unscrew.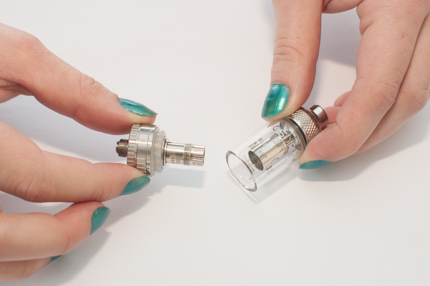
Fitting a new coil to the Nautilus Mini
Once
the base is removed, you have access to the coil assembly. To remove
this, simply unscrew from the base section and dispose of. To fit a new
coil, line up the coil with the base. It can help to first turn the coil
anticlockwise to make sure it’s seated properly.
Do not over tighten. There should be no resistance when screwing in the coil.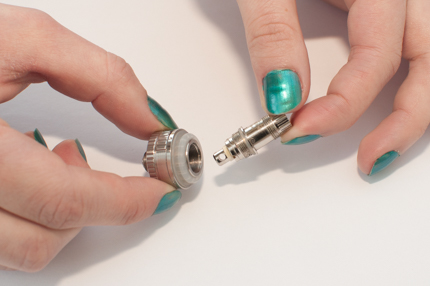
Filling the Nautilus Mini
With
the base removed and set to one side, fill the tank from the bottom
(while facing up) from your eliquid bottle. Fill the liquid up to the
2ml level on the side of the tank. If you add more eliquid, it could
spill into the airway.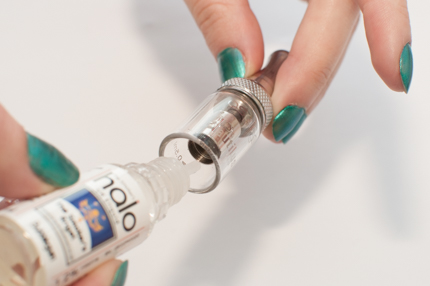
Removing the pyrex tank
To remove the
pyrex tank for cleaning, hold the tank in one hand and unscrew the
upper hardware from the top of the pyrex tank. Take care when doing this
to avoid damaging the pyrex tank. Excessive force could cause cracking
of the tank.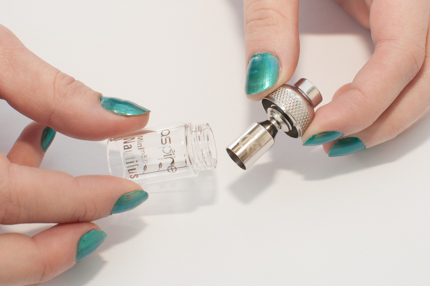
Attaching the Nautilus Mini to your battery
The
Nautilus Mini includes a plinth for a neat fit onto ego batteries.
Remove the plinth from the box and screw on to the ego thread on your
battery (pictured below).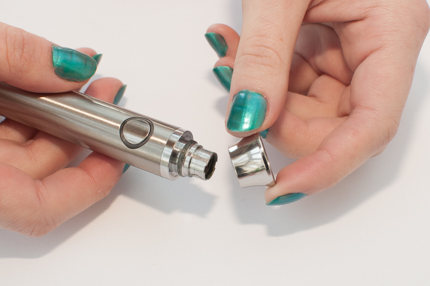
Once you’ve installed the plinth, take the Nautilus Mini clearomiser and screw into the 510 thread on your battery.
As
with other clearomisers, when attaching the atomiser and the battery
it’s a good idea to give turn the device anti-clockwise until you hear a
click. This ensure correct threading.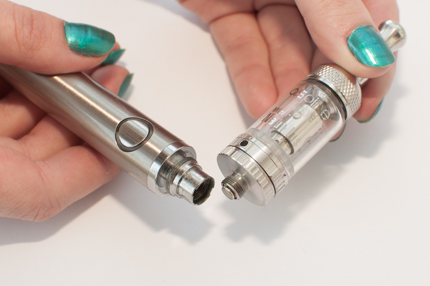
Mini Nautilus Available Now - Big Sale for just 11.92USD
The
Nautilus Mini is available is for 11.92USD sale, and you can start
enjoying the the increased vapour and smooth flavour production now. If
you’ve been looking for an upgrade clearomiser and you don’t want a
rebuildable, I highly recommend you give it a go.
Also see: Aspire Mini Nautilus Coils 6.99USD